


Google Chrome is the most popular internet browser in the world. Over 3 billion people use it for daily personal and business activities. In this article, we’ll explore how to use Google product safer and more efficiently. The short answer is – by setting up a proxy in Chrome.
What is a Chrome Proxy?
Proxies are intermediaries between users’ devices and the internet. They hide the actual IPs and provide different ones for the targeted websites to see. This improves users’ privacy and security, and allows bypassing geolocation or content restrictions.
The browser doesn’t have any unique proxy configurations, so Chrome proxies are any proxies used with it. Such proxy settings are adjusted on the operating system (OS) level.

Why is it Dangerous Not to Use Chrome Proxies?
The IP address is like an ID card with information about the user’s location. Tracking the IP allows learning about the browsing history and online behavior. It also provides opportunities for all sorts of wrongdoing: online stalking, hacking into the devices, downloading illegal content using your IP, attacking the network, impersonating users, and using collated information for social engineering.
How Does Proxy in Chrome Work?
Like any proxies, proxies in Chrome act as a buffer between the device and the website. The user makes a request, and the proxy substitutes the real IP with another one and sends this request to the targeted website. When the server sends the reply, it goes to the proxy first. Then it gets routed to the user.
How to Set Up and Use Proxies on Chrome?
Step 1.
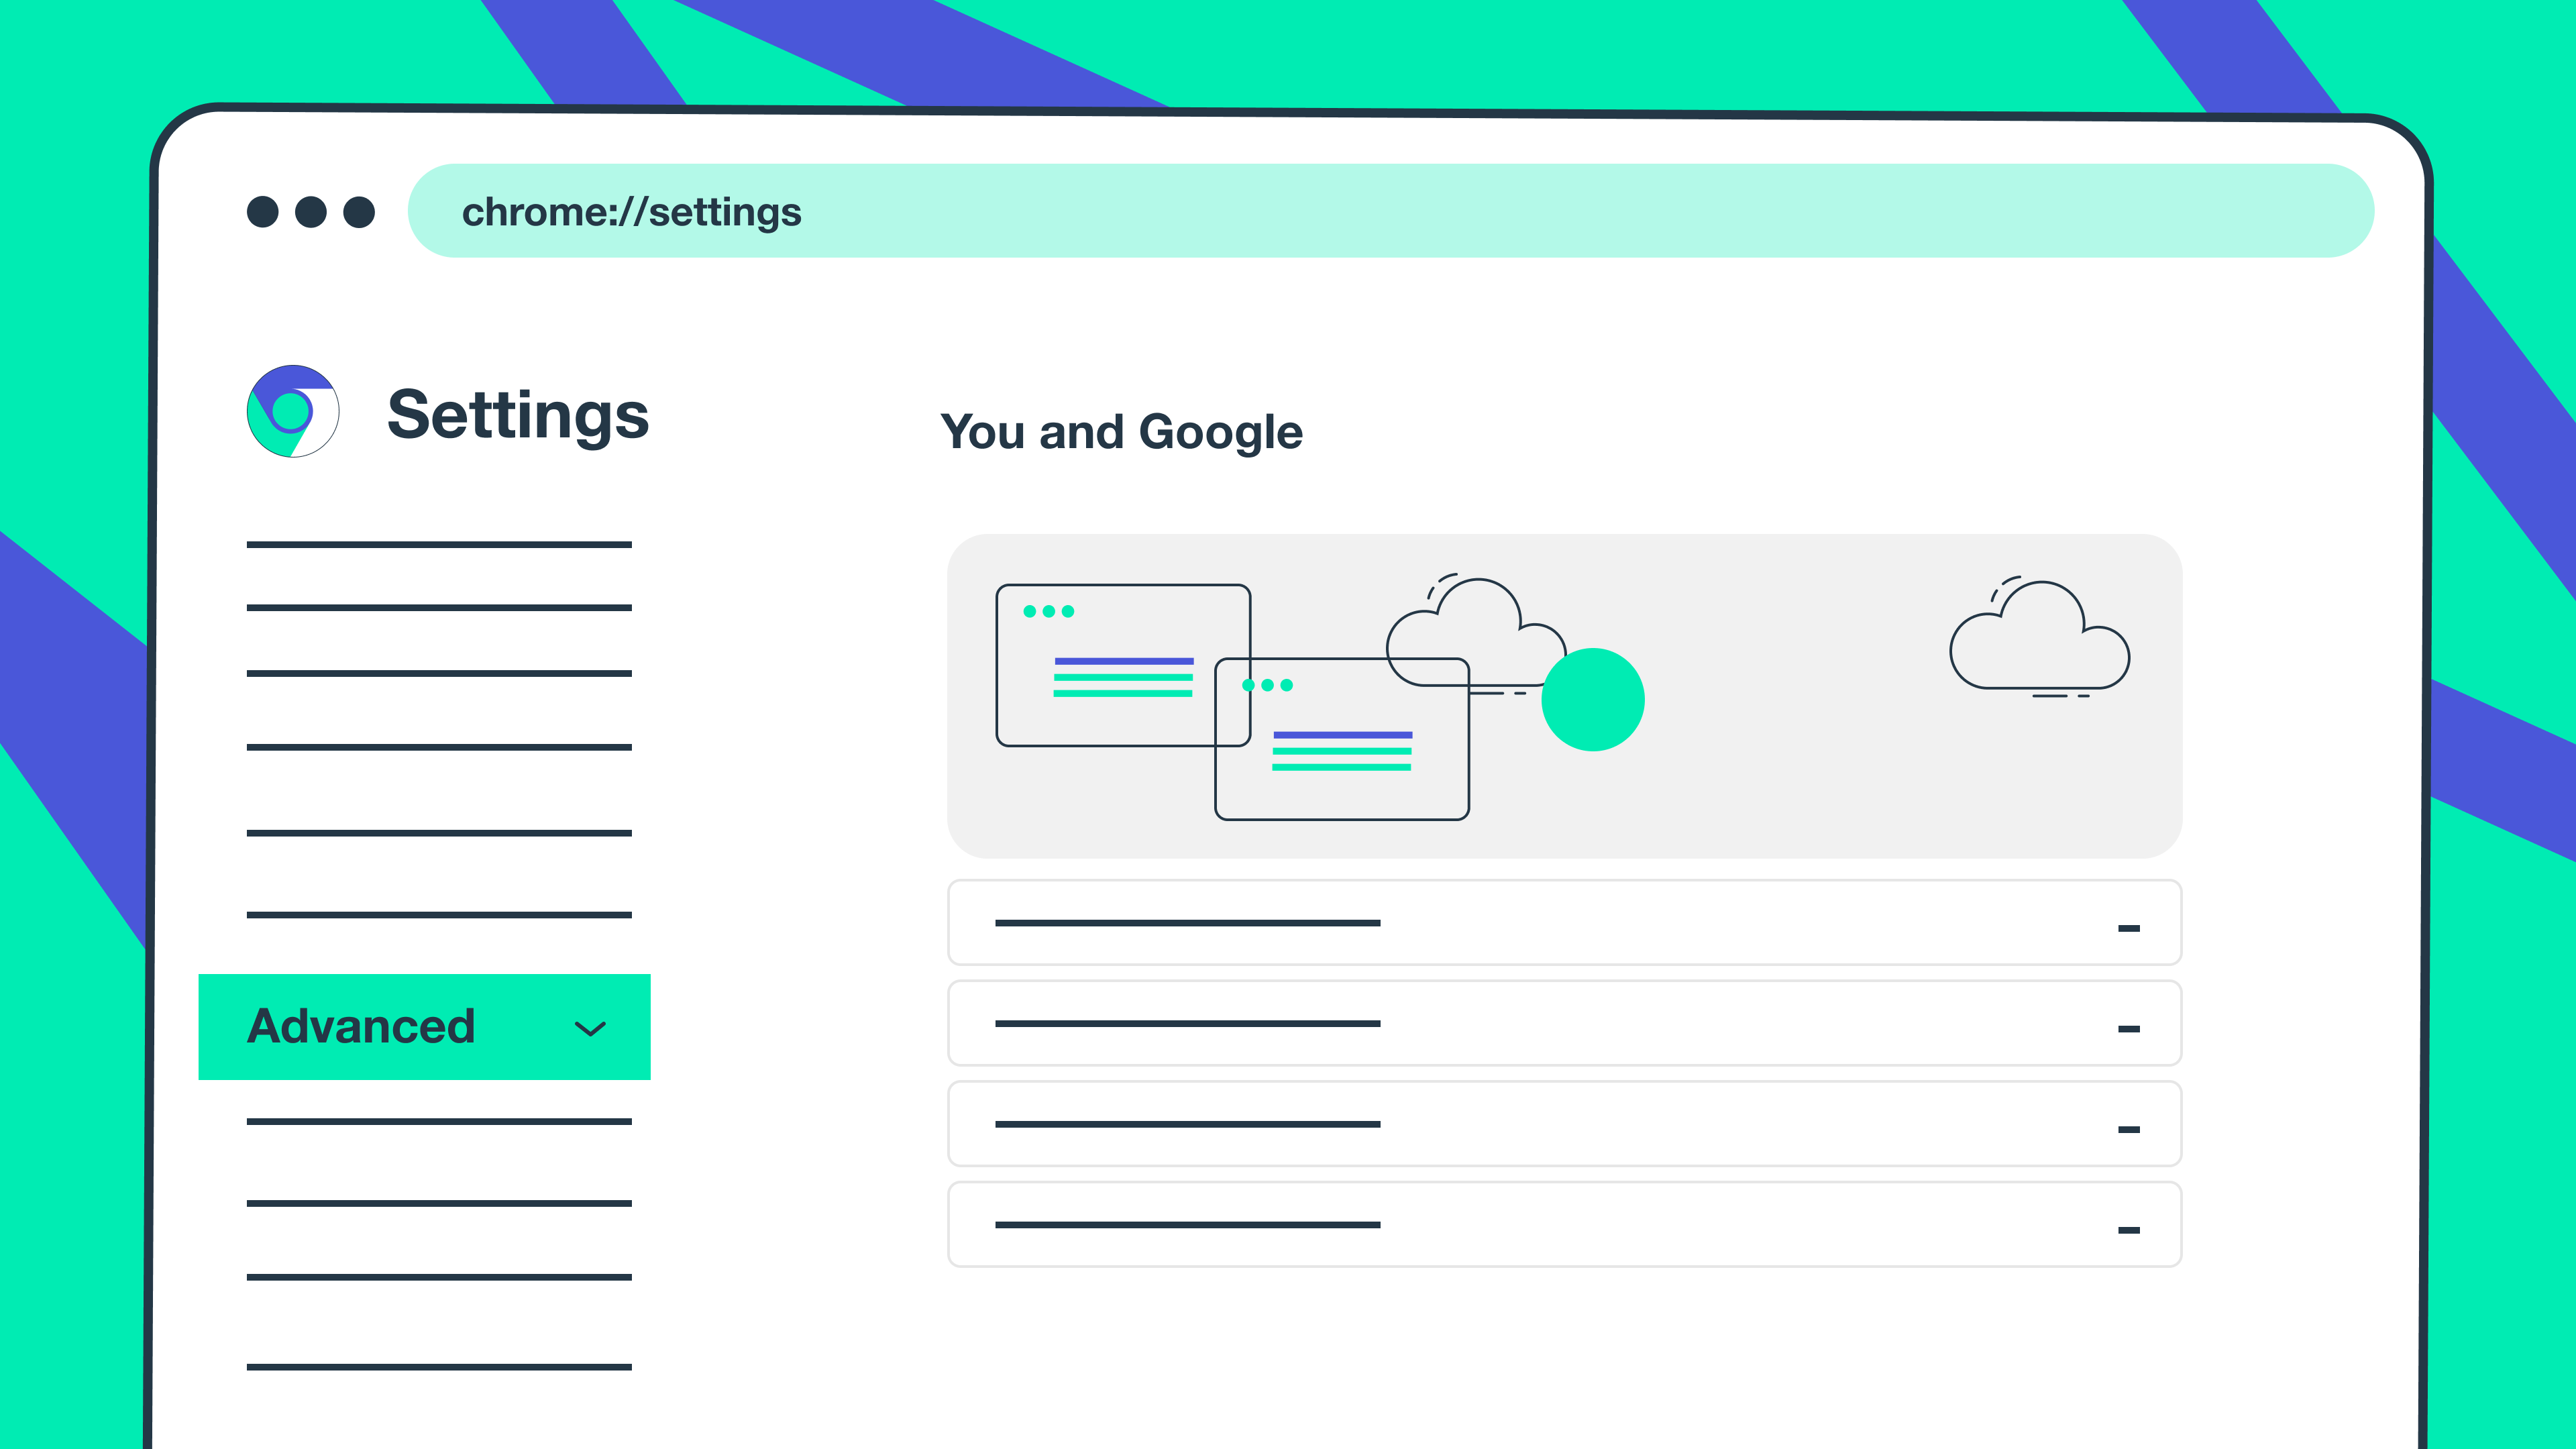
Open Chrome browser. Click on the “Customize and control Google Chrome” button (three dots on the top right corner of the screen). Select the “Settings” line and click on it.
Step 2.
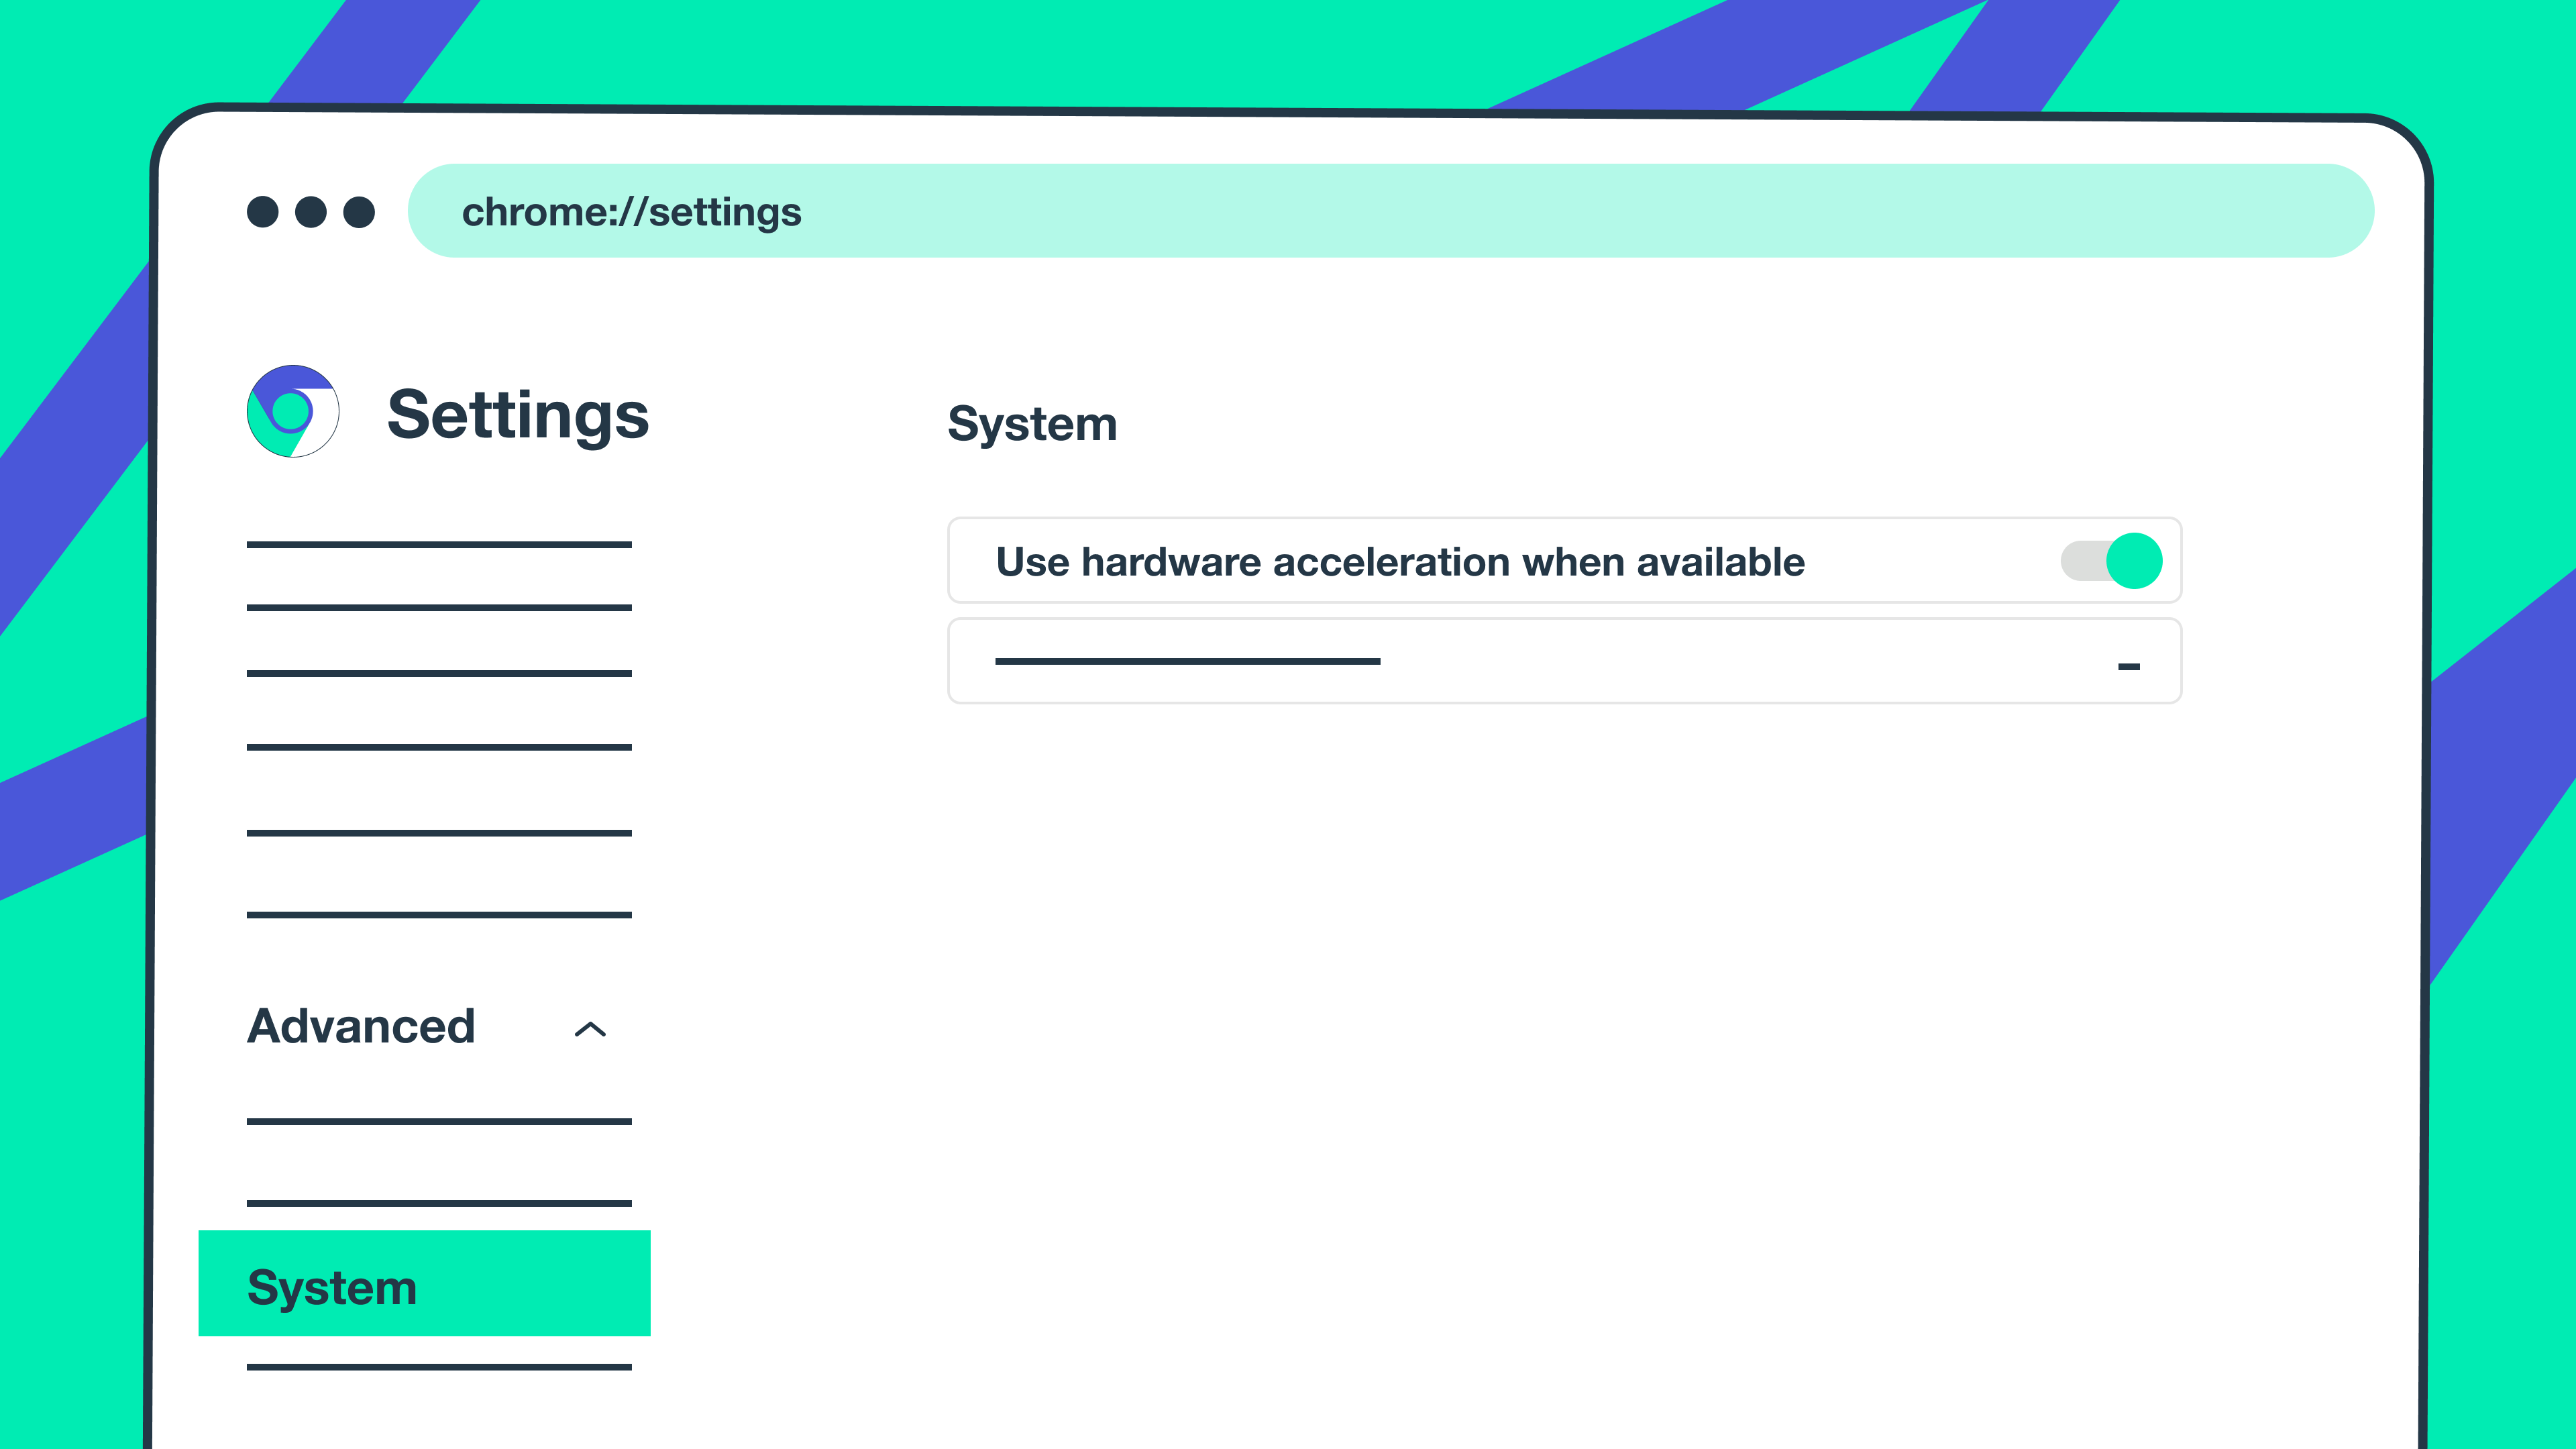
Find the “Advanced” line. Extend it by clicking on the header. Click on the “System” line. Choose “Open your computer proxy settings” by clicking on it.
Step 3.
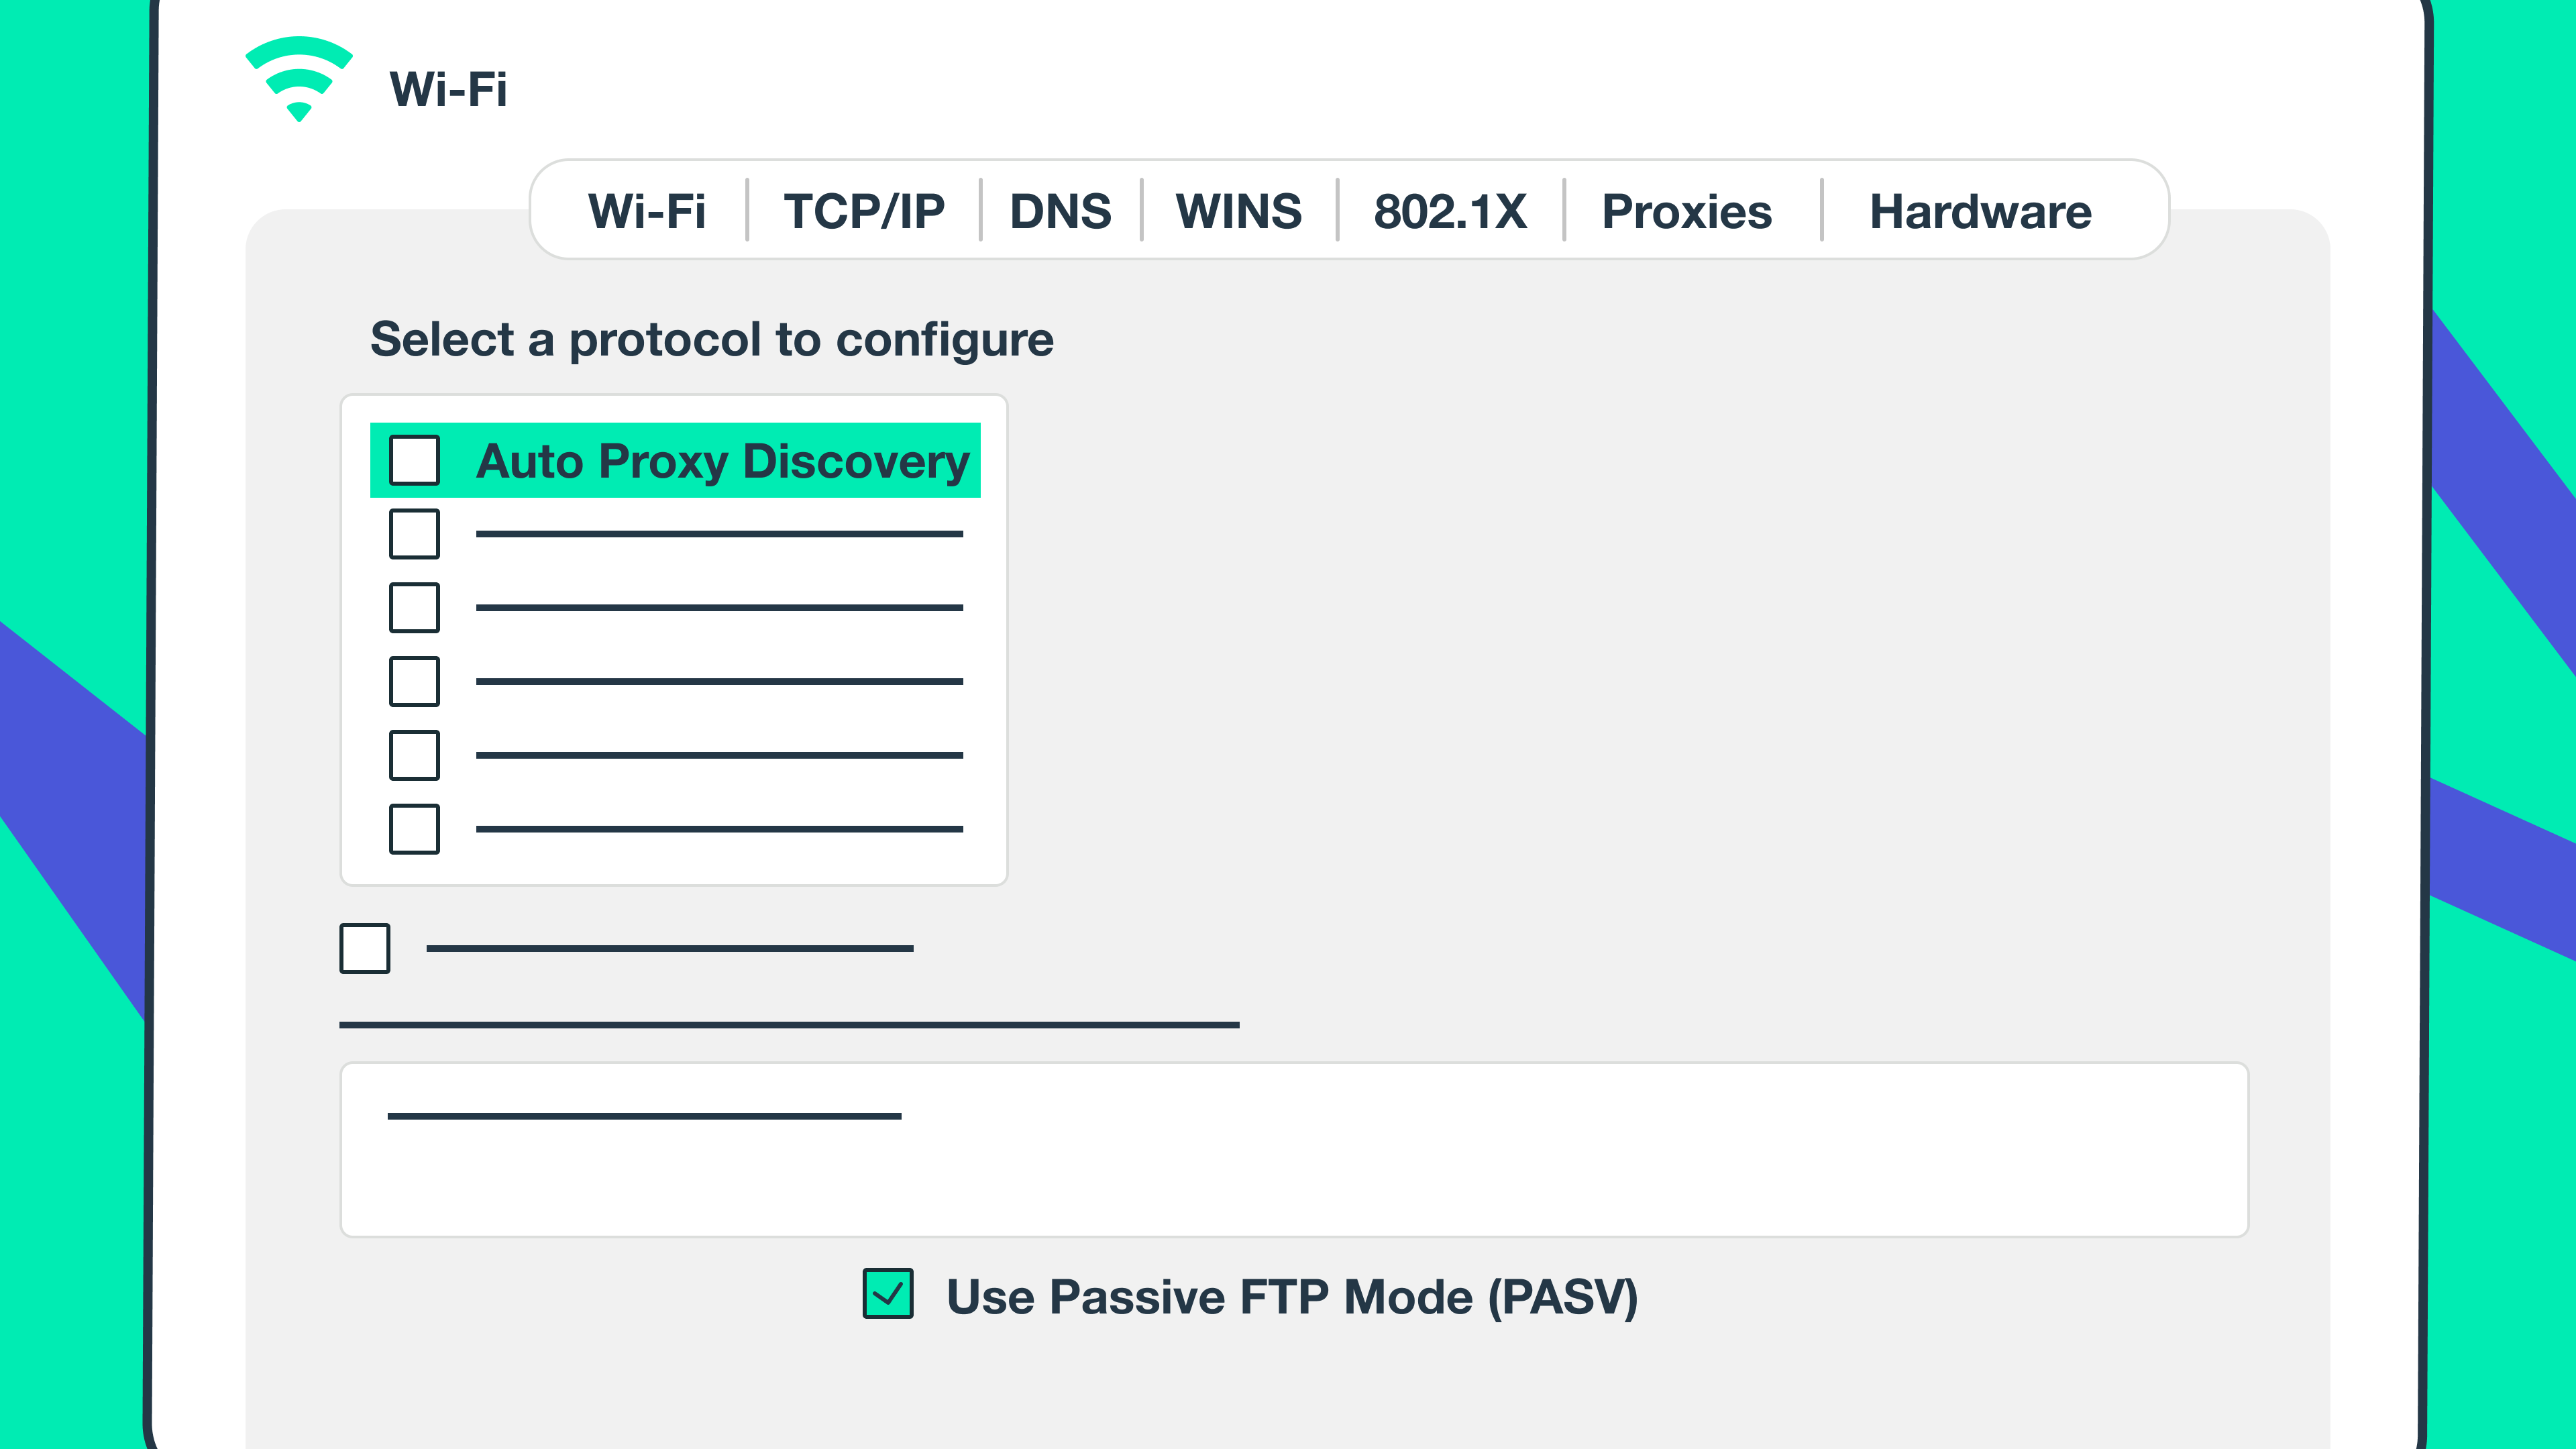
On macOS:
- Select the proxy you want to edit on the left side of the page.
- Change the URL in the Address field.
- Insert username and/or password in the relevant fields.
- Finish the setup by clicking “OK” and then “Apply”.
This Apple User Guide provides further guidance on different macOS versions.
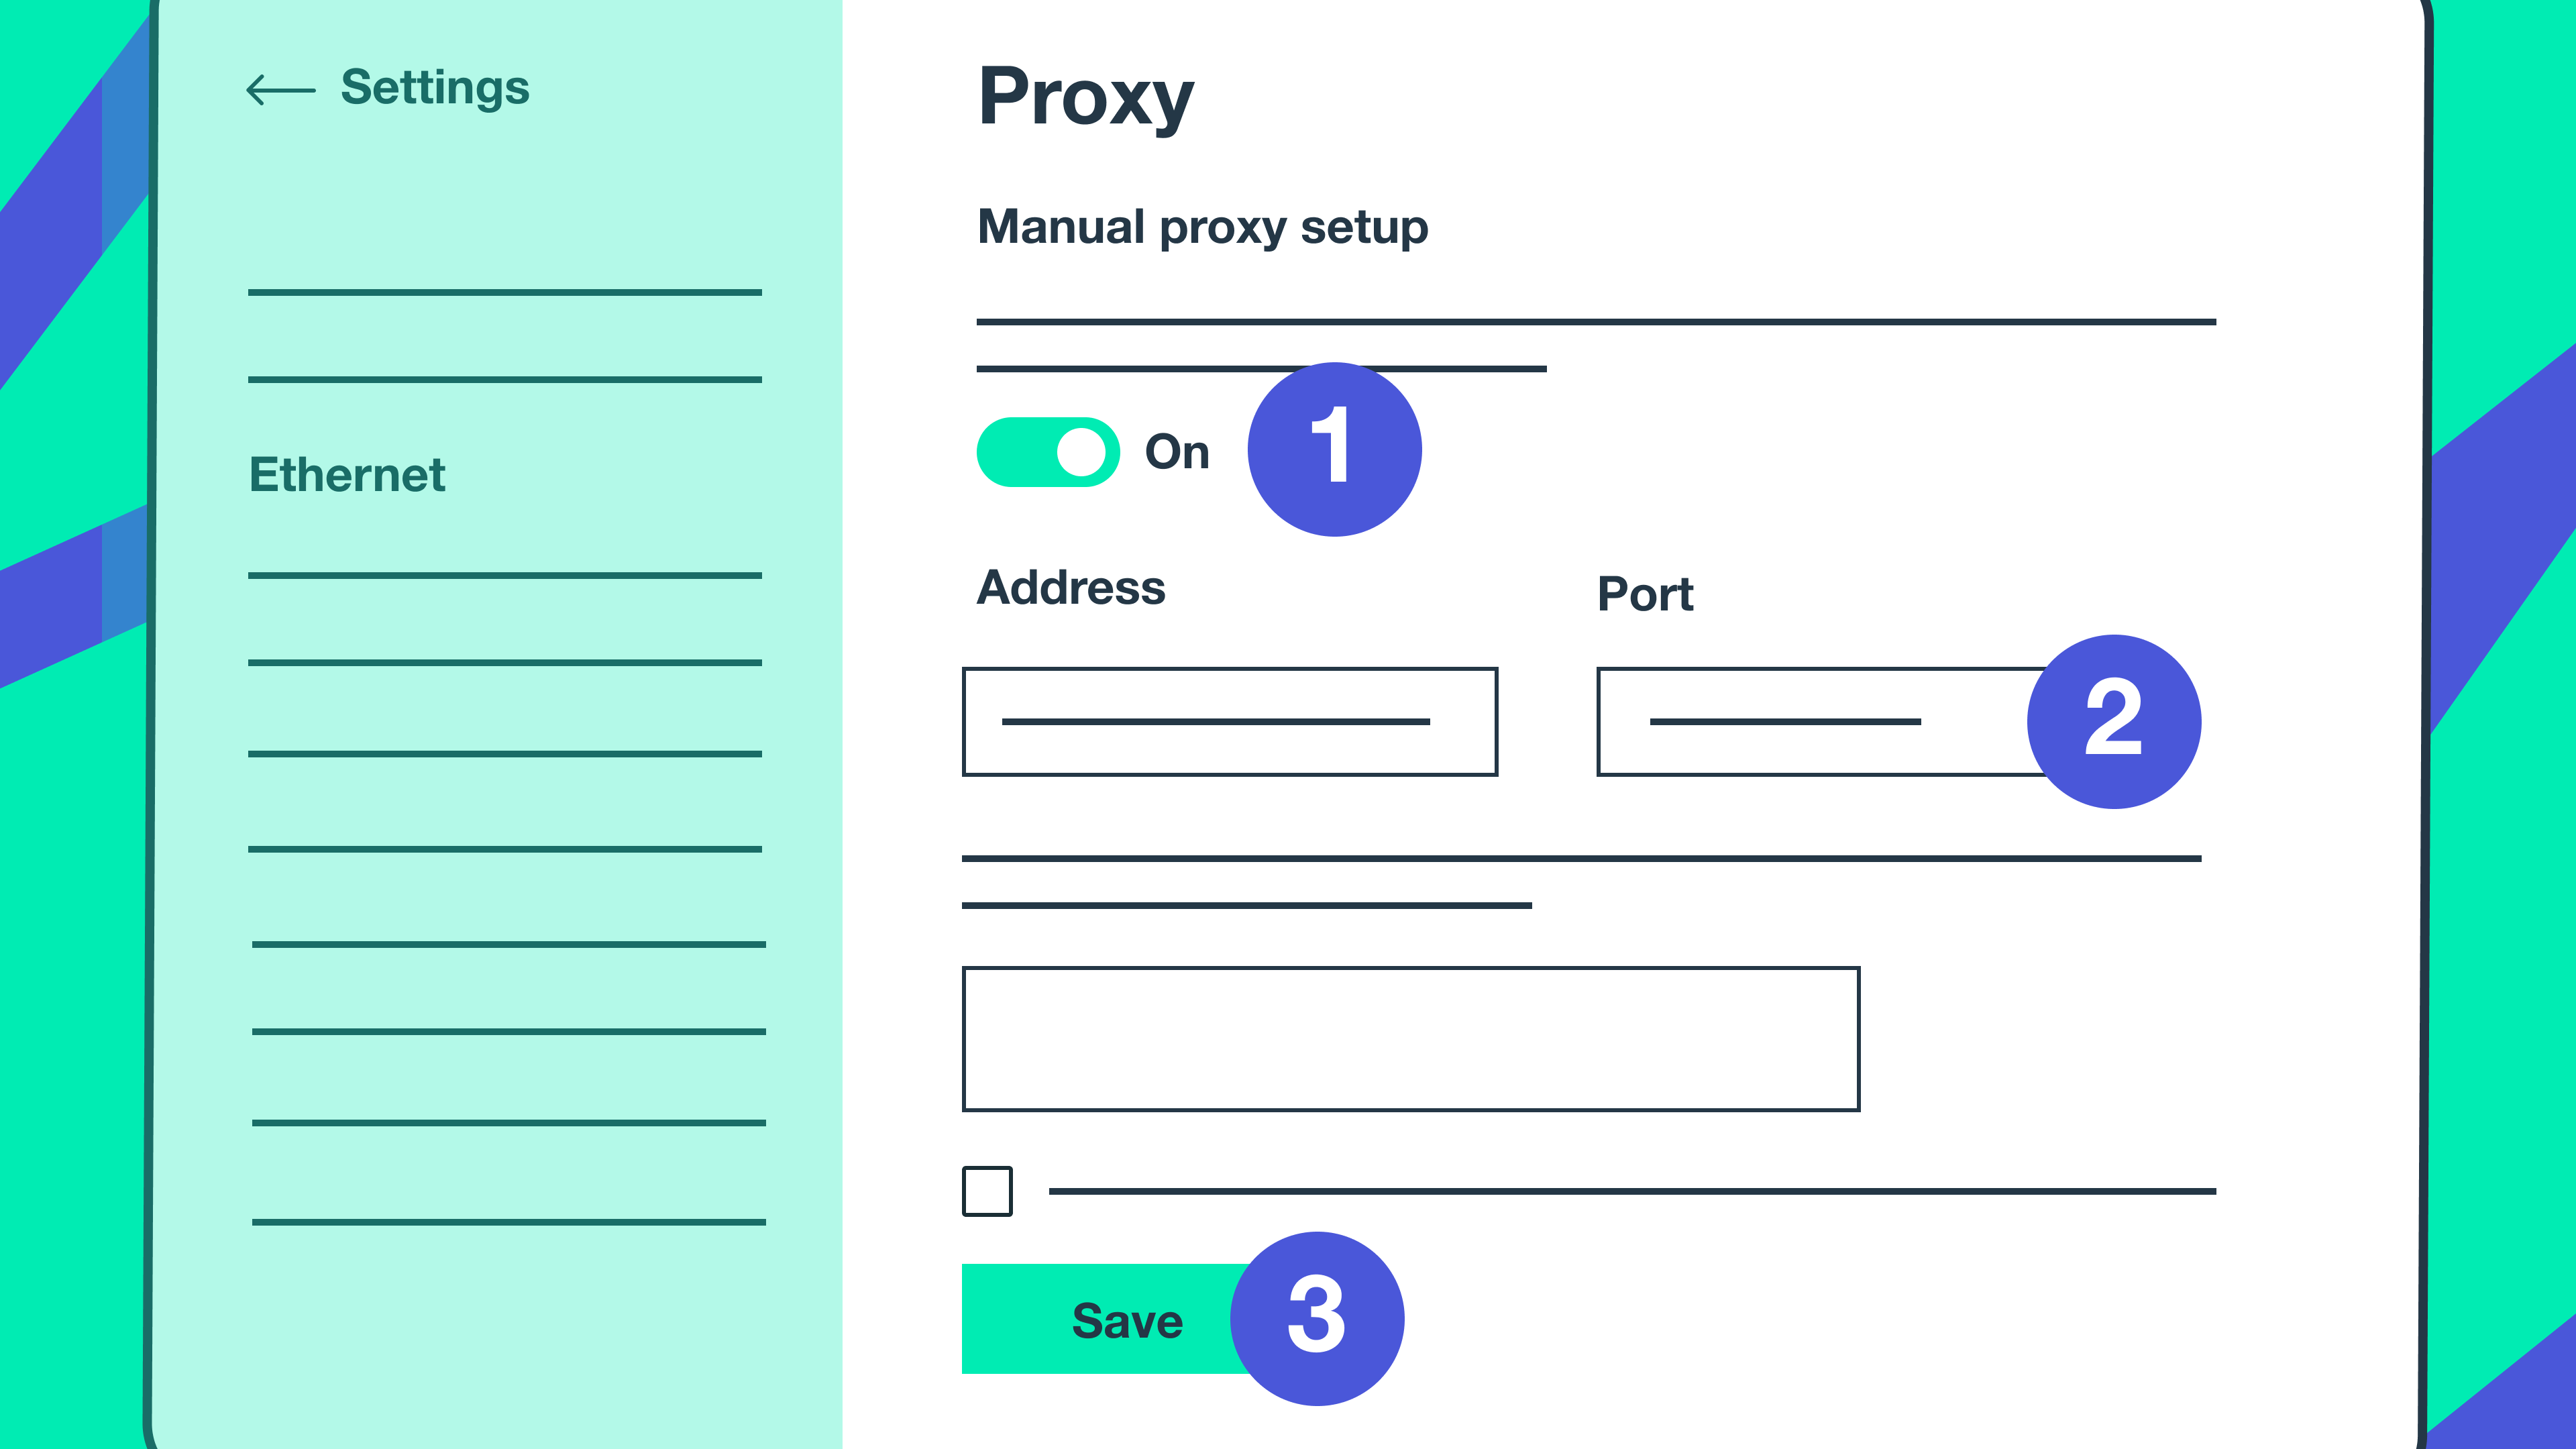
On Windows OS:
- In the “Use a proxy server” line enable the switcher.
- Fill in the address for the proxy server and the port you want to use.
- Press Save to apply your settings.
And now you are all set.
Proxies in Chrome are great for keeping web browsing safe and secure. However, for the everyday needs of private individuals VPN might be enough. If you are thinking about using proxies in your professional life, please check out our article on how to use residential proxy for business.

